
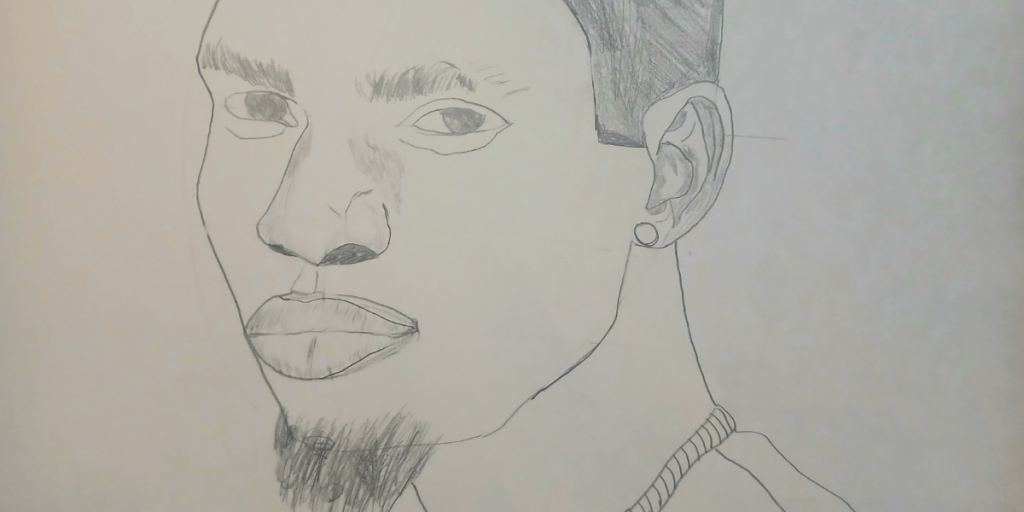
We’re not aiming to draw the Mona Lisa with a store-bought pad and a pencil. If you can get your little sister to volunteer to pose for a portrait, then you’ve championed half the battle.
The other half is to draw a face with a side perspective with consistent results. So, we need to apply the Loomis technique to achieve this.
This blog will cover a simple method for constructing a human head slightly off-center for a dramatic look.
Step 1: Draw an oval.
Step 2: Draw a curved line.
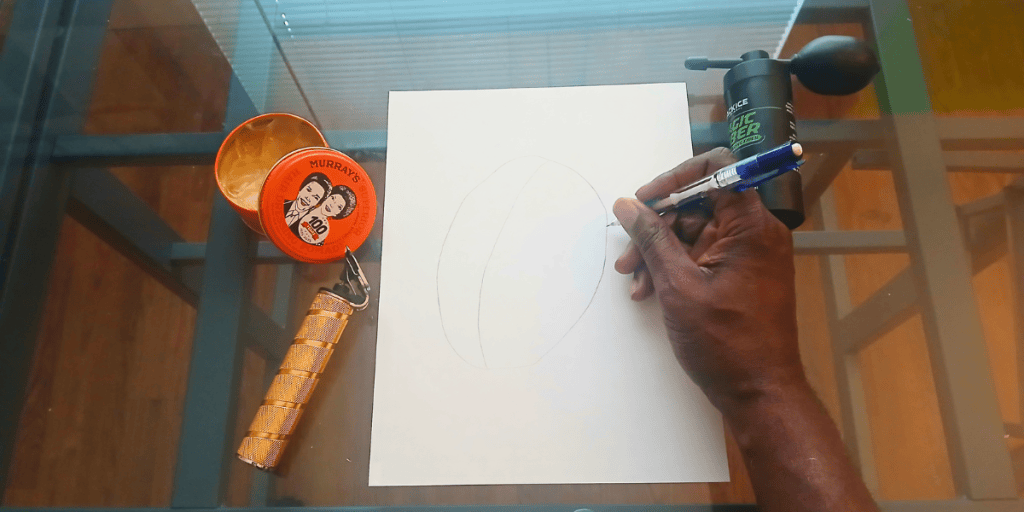
If you want your subject to look left, curve the line to the left, and do the same for the right.
Step 3: Draw an inverted triangle
Step 4: Add 4 lines for the:
1. Hairline
2. Eyes
3. Nose
4. Mouth
Step 5: Draw eyes.
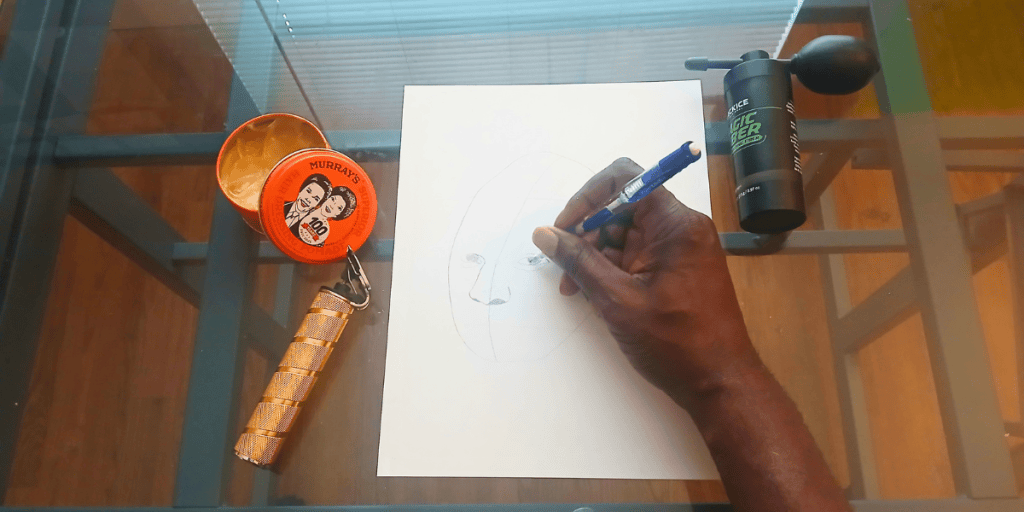
Space the eyes evenly, with the middle gap. Make sure the right eye is larger than the left eye.
Step 6: Add nose.
Step 7: Connect the nose to the eyes.
Step 8: Draw a mouth.
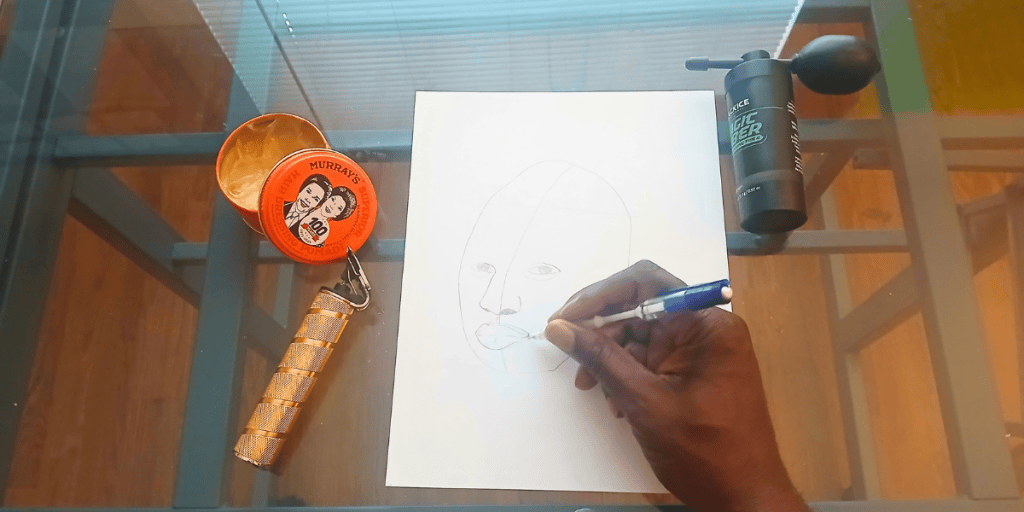
Step 9: Add an ear.
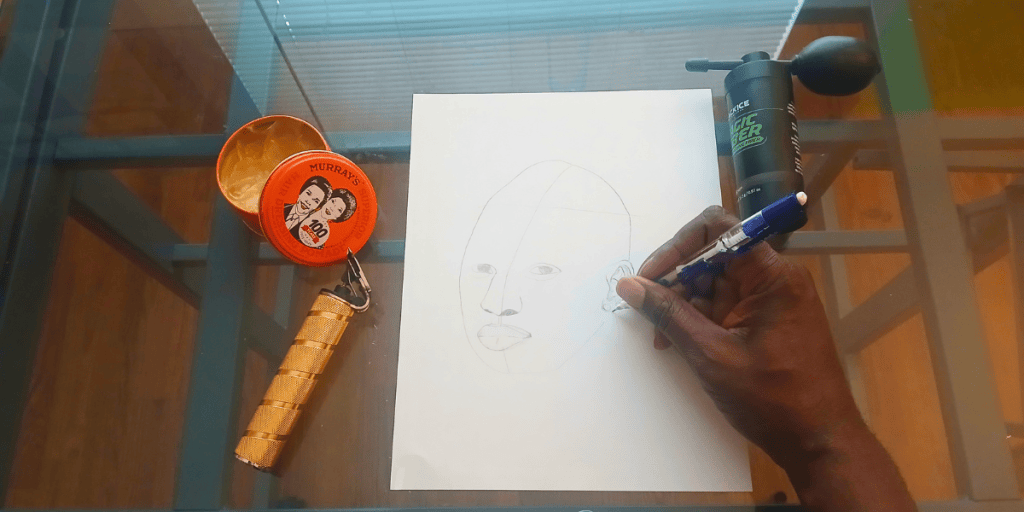
Start drawing the top of the ear aligned with the bottom of the eye and extend it down to the bottom of the lip.
Step 10: Connect the jawline and mouth
Step 11: Trace out the chin to the ear
Step 12: Remove the pencil guidelines.
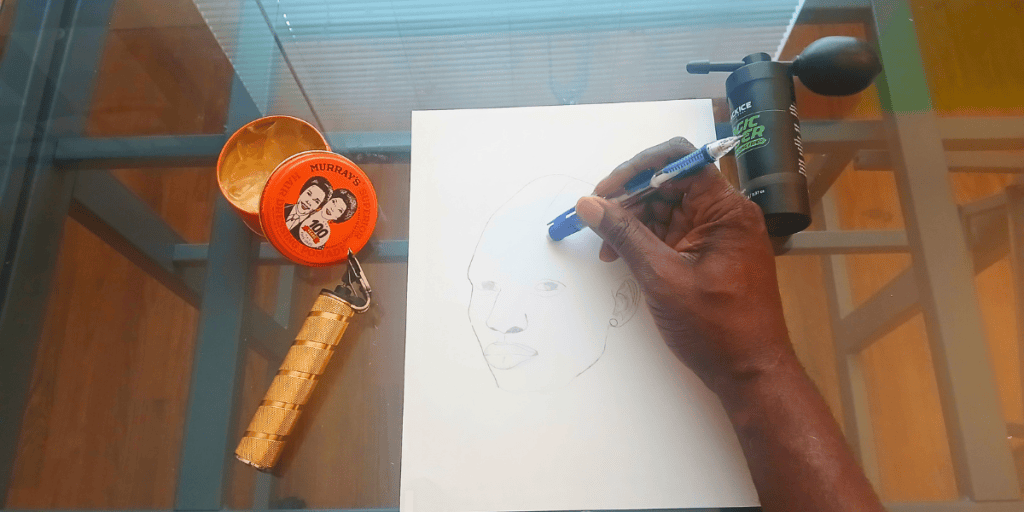
Step 13: Add hair.
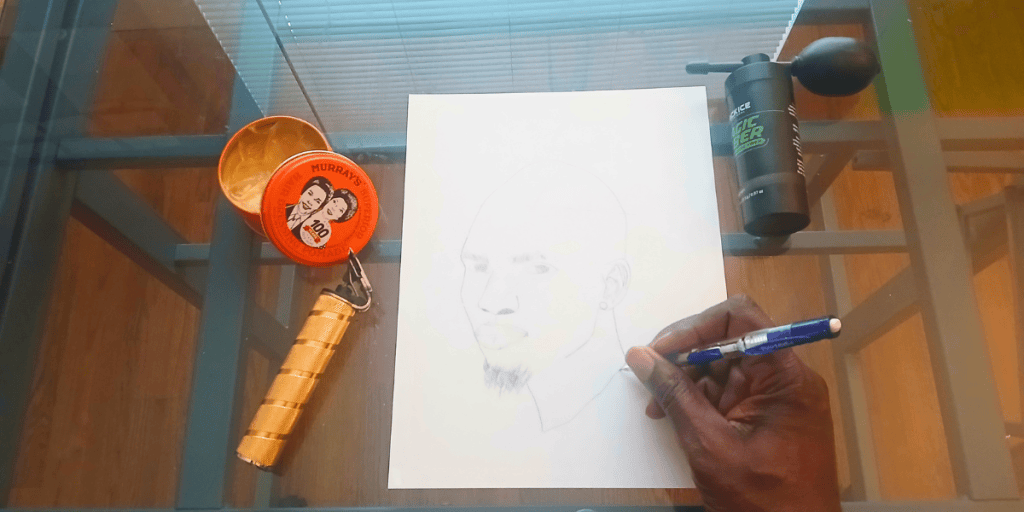
Step 14: Add accessories.
Step 15: Add shade and contrast.
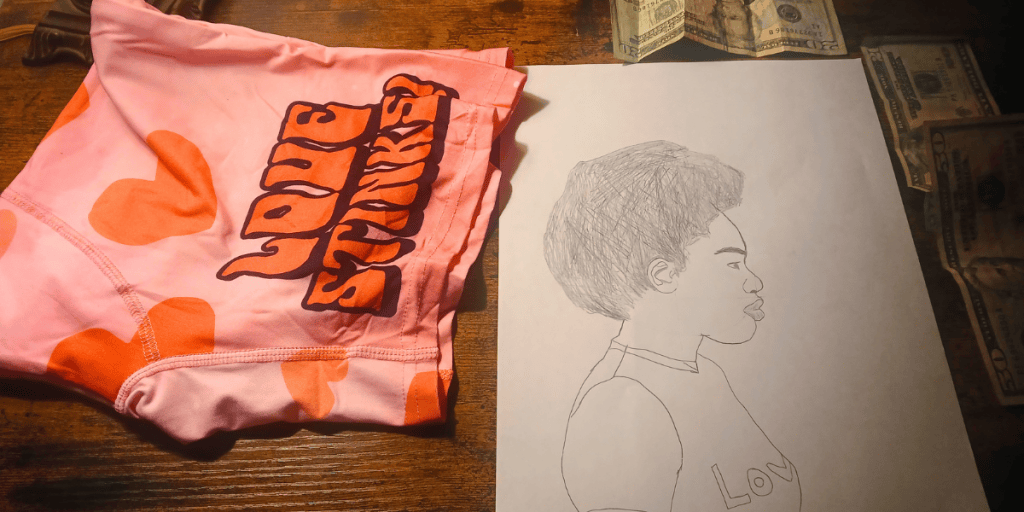
Step 16: Result.
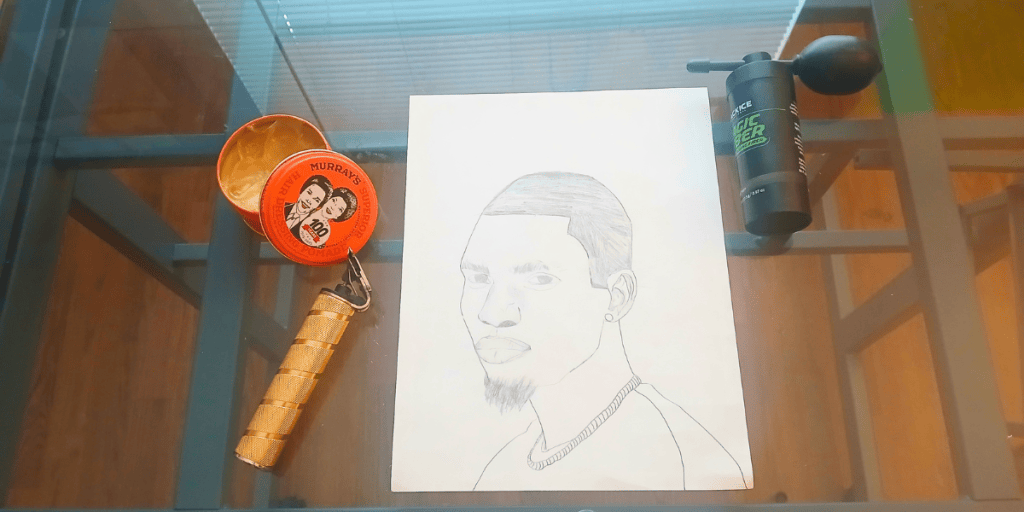
The key to drawing a face from a portrait perspective is establishing the vanishing point. The dominant side must appear larger than the opposite side of the face. Once you set a good distance and measure between your eyes, nose, ears, and mouth, you’re ready to go.
Now, start drawing!



Leave a Reply