
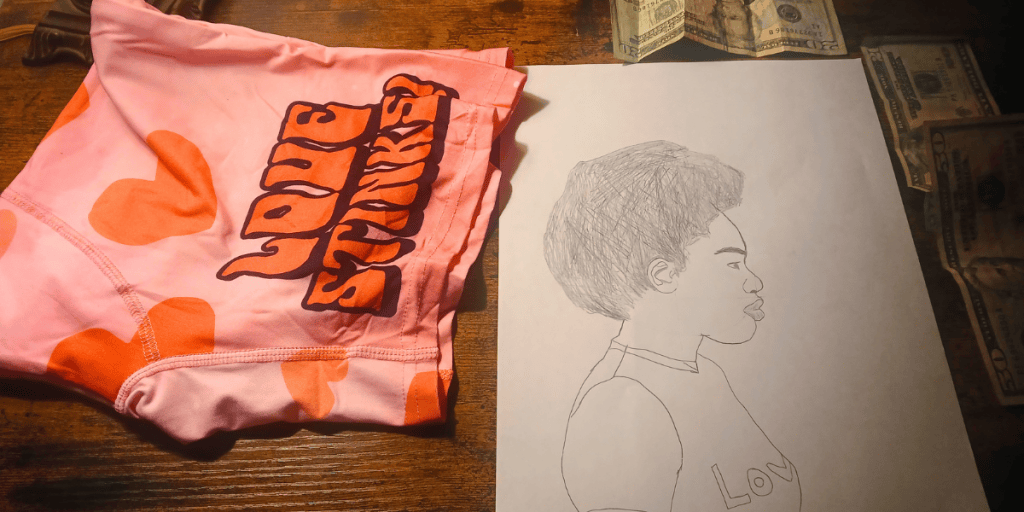
Drawing someone’s face at a side angle is convenient for artists who like to emphasize jewelry, eyeglasses, or the outline of a subject’s hair because the focal point is the cheekbone, neck, and ear.
Many beginner artists find this angle the easiest to work with because there is no vanishing point to account for and no requirement to draw one side of the face proportionally equal to the other.
Step 1: Draw a circle
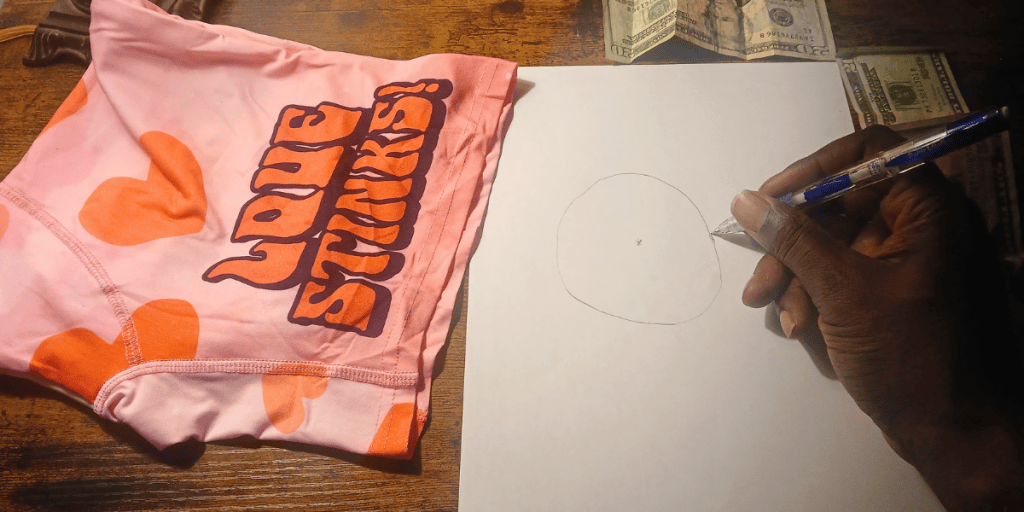
Step 2: Draw a line in the middle of the circle and a horizontal line in the middle of the circle.
Step 4: Sketch an ear slightly below where the lines intersect.
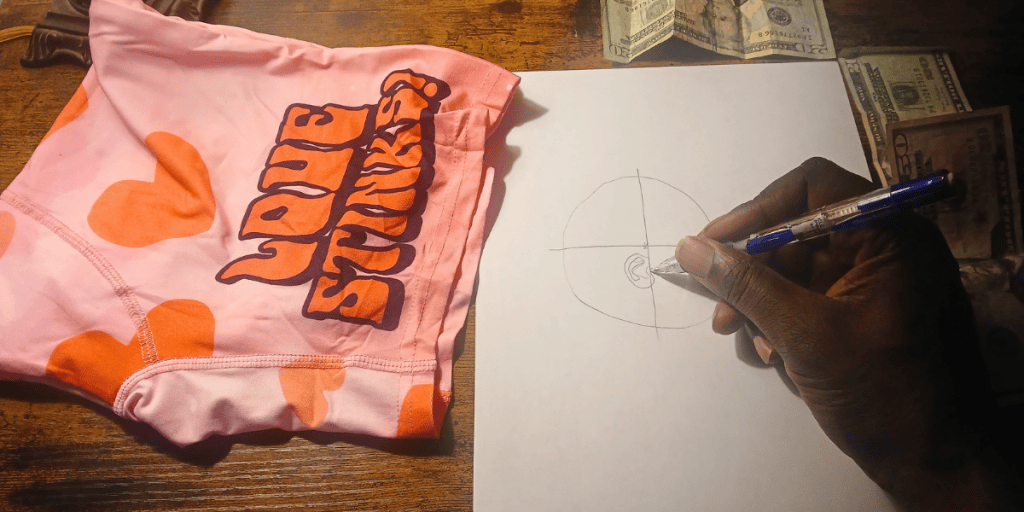
Step 5: Sketch a line below the ear to create the nose.
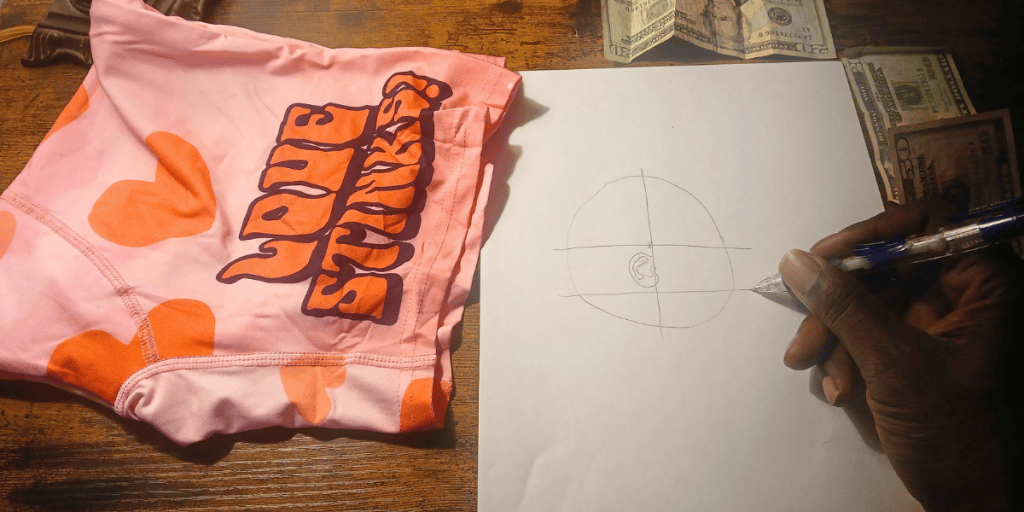
Go between 1/3 and ½ way down.
Step 6: Sketch the ridge of the nose.
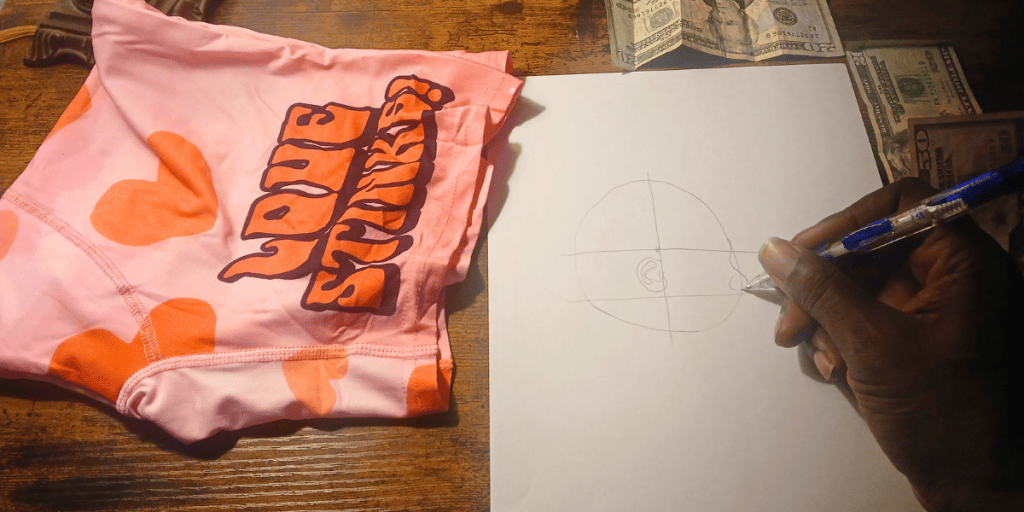
Step 7: Add the lips
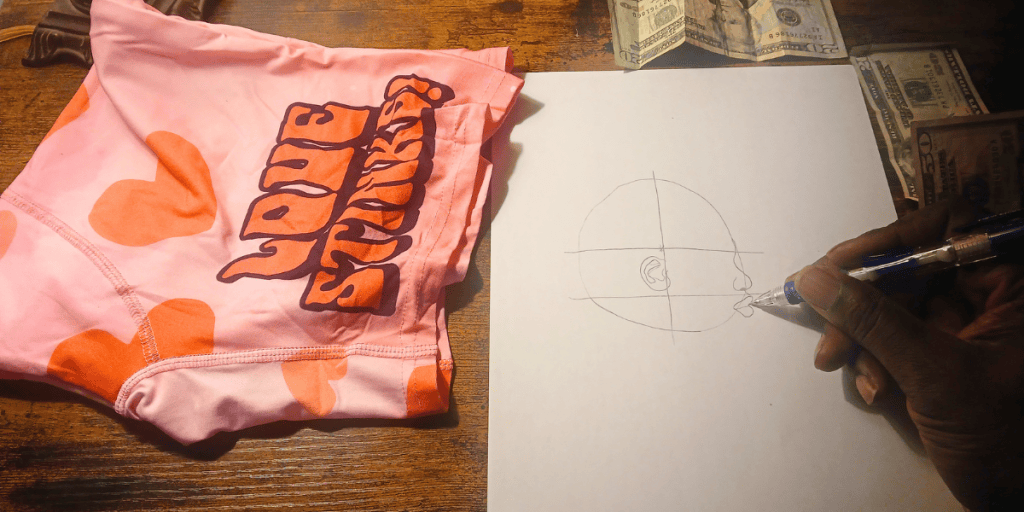
Add a little space.
The bottom lip should poke out a little more than the top lip.
Step 8: Develop the chin.
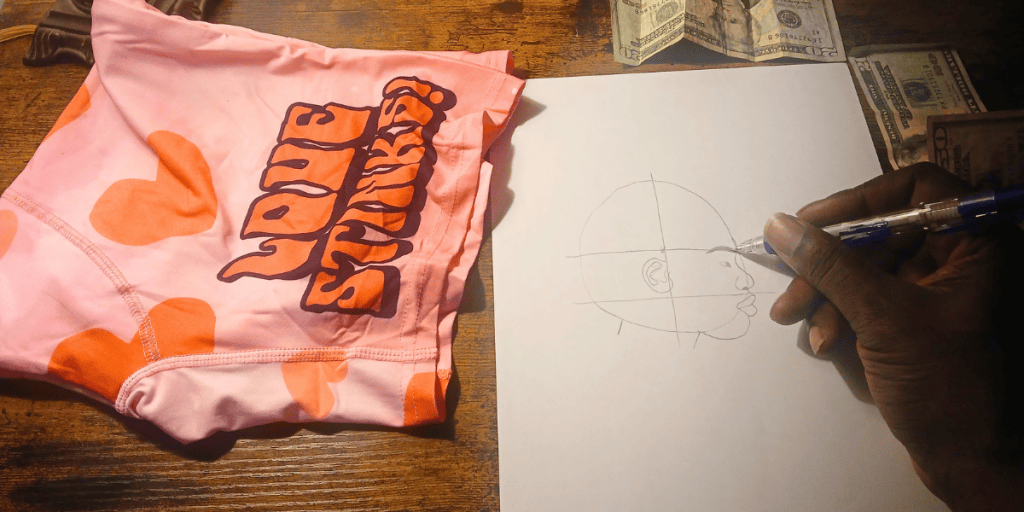
The bottom ear is aligned with the bottom of the nose.
Step 9: Connect the jaw to the head.
Step 11: Add an eye.
The eyes should be triangular.
Step 12: Add eyelashes.
Make sure the left size is bigger than the smaller right size.
Step 13: Add eyebrows.
Step 14: Curve the forehead.
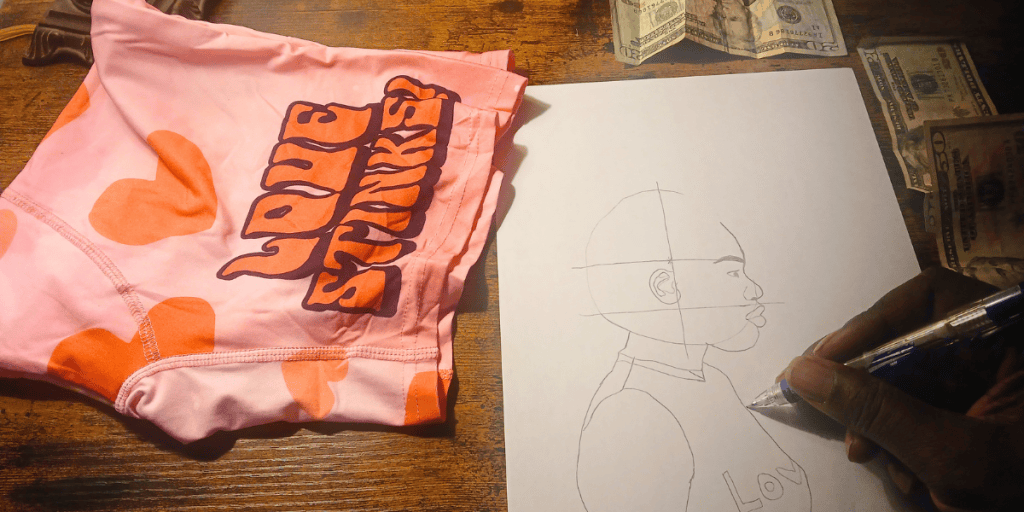
Step 15: Add the neck.
Lean the neck a little forward.
Step 16: Add some hair texture.
Step 17: Add jewelry.
Step 18: Result.
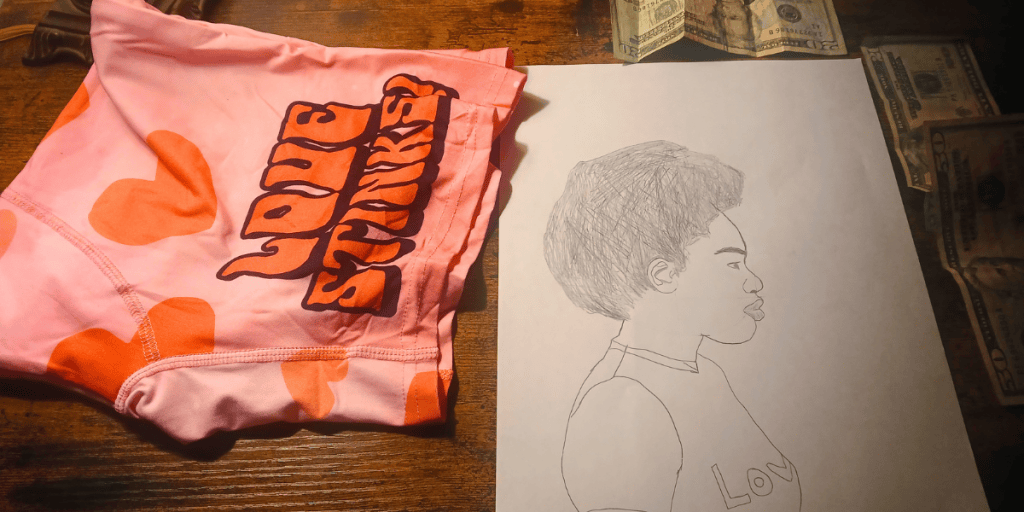
Side-angle face perspective is the easiest to draw. Once you understand the angles, you will be able to draw a portrait from any angle.
Now, start drawing!



Leave a Reply