Nowadays, an inspiring photographer doesn’t have to take a semester at the local community college or seclude themselves inside a dark room to develop a string of high-quality pictures.
Fortunately, we live in a modernized world where everything can be done with an Android or iPhone.
Now cell phones are great, but what if you still have a fetish for a Cannon, Nikon, or Panasonic camera?
Well, I got you covered.
In this blog, I will discuss how to set up your camera along with a proper lighting setup, and I will also discuss some basic editing techniques for you to create a more professional photo.
Room Set-up
The amount of space you need to photograph your artwork doesn’t require a lot of real estate. You can use an open panel wall anywhere in your house to set up to light and take photos.
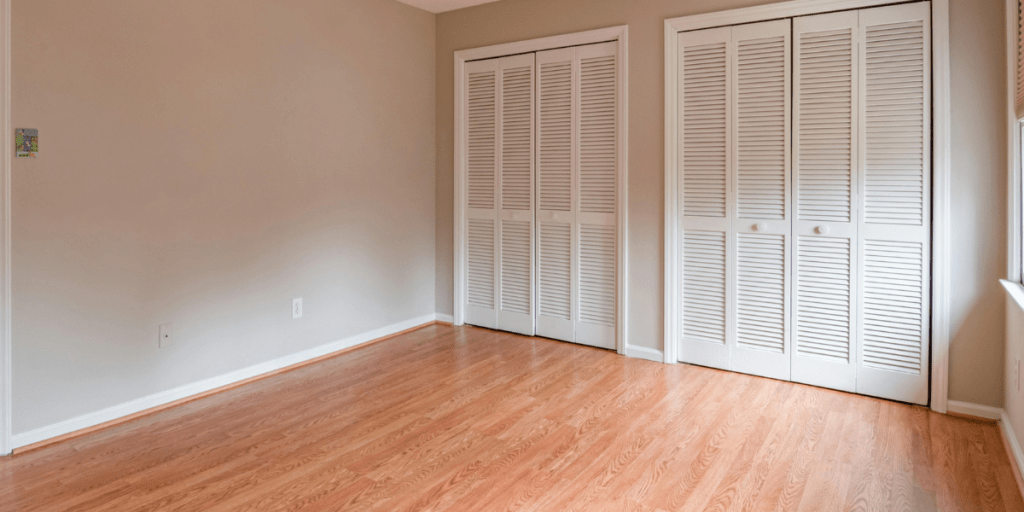
However, the standard size of a vacant bedroom would be an ideal choice for setting up larger artwork, such as anything bigger than 36 x 24 inches. The extra space makes workflow more convenient and flexible when providing lighting for your artwork.
Framing your work
This step is simple. The job only requires you to find a smooth, flat surface to hang your artwork.

Here are a few basic tools you are going to need.
- Nails and hammer
- Picture hangers or hooks
- String
- Hammer
- Scotch Tape
Lighting
Proper lighting in your artwork creates a clear and crisp image. Of course, you can edit a lot in post-edit if your pictures are underexposed. The ideal practice is to provide your editing software with good information to transform your work into a professional look.

Here is one item you need, but I recommend that you don’t break the bank to obtain it when you are just starting out.
- A soft box
Set a light box at 45 degrees on both sides to give your image an even contrast. You do not want to leave any shadows.

The correct distance to shoot your shot
I suggest using a tripod. If you don’t have access to one, I could try to hold the camera steady with each shot. This takes practice, of course.

I like to start my set up at 6 to 7 feet from the artwork and then move toward the wall until I get a desired shot with a little extra of the background appearing in the shot.
Here are some starting points to start and shoot your artwork:
30 x 30 up – 7 feet
12 x 12 – 5 feet
48 x 32 up – 8 feet
11 x 17 – 6 feet
You can experiment with varying the distances, but make sure to keep the artwork center in the frame.
Camera Setting
The first problem I faced when using a professional camera was understanding how to use the settings. No shot is the same and the color temperature may vary during different times of the day.
However, I have created a starting point to get you started.

Now lock your photo, set the exposure, and shoot!
Basic Editing Technique
Fortunately, the editing process isn’t as complicated as getting the perfect shot. You can toggle with the adjustments to your photos to the desired result.
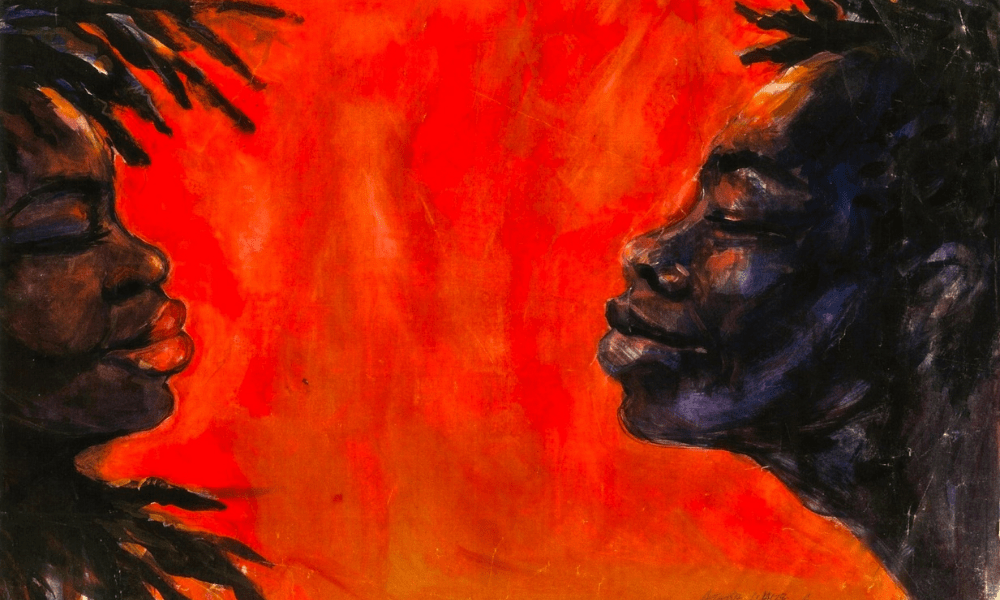
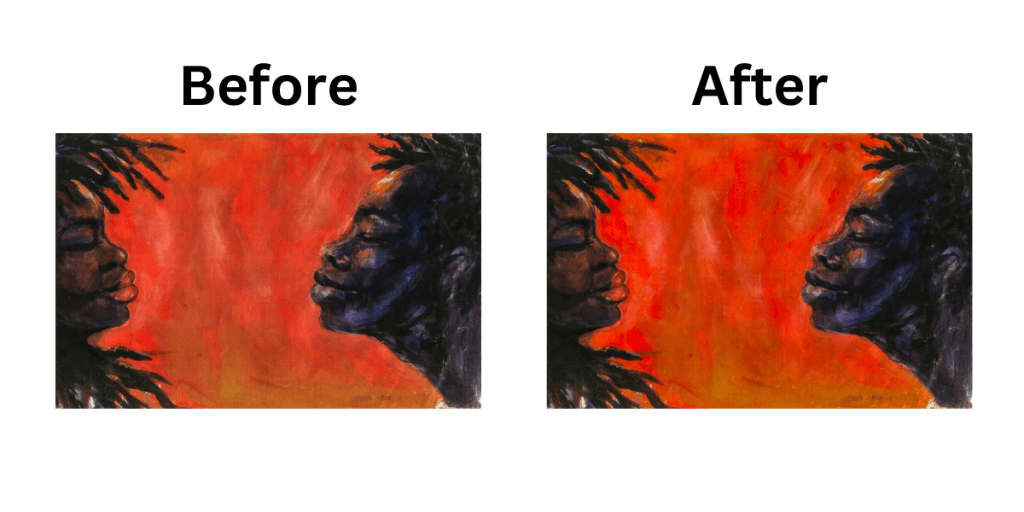
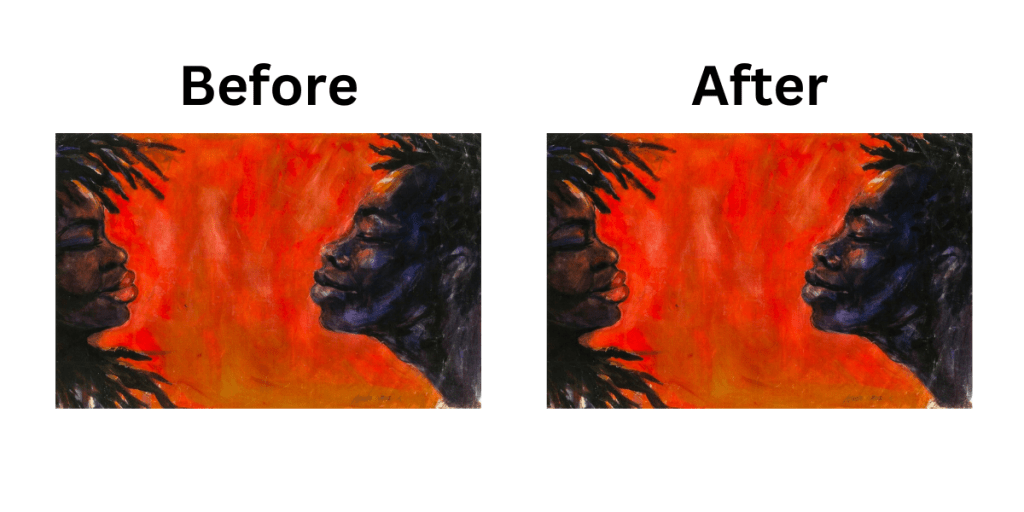
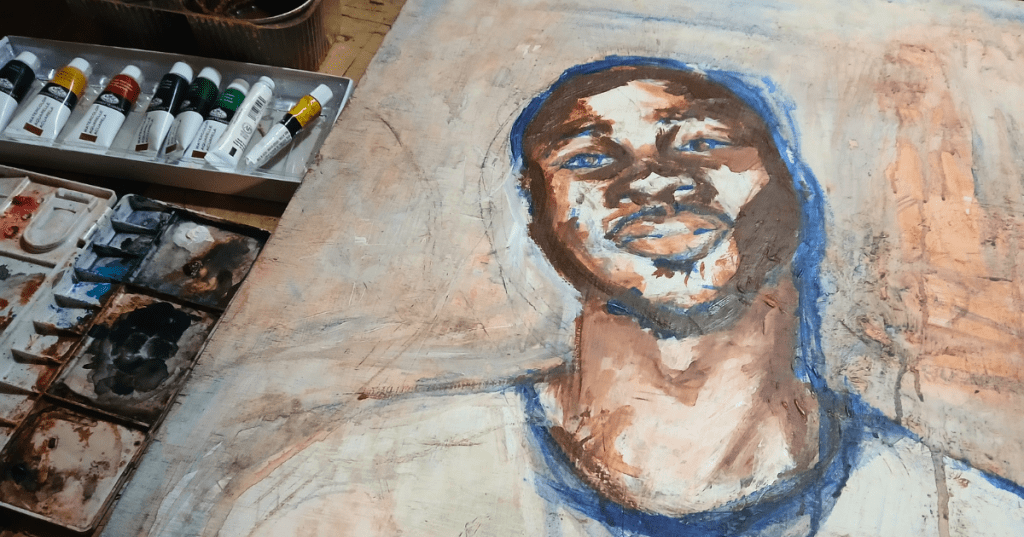
I will use this example “The Kiss” by Walter ‘Atoostie’ Fulton to demonstrate my workflow.
Crop your image
The photo had a little white background in the shot, so I edited out the background using a simple cropping tool.

The crop tool removes the outside edges of an image to improve the subject. It can also help change the size or ratio of the picture.
White balance

The white balance tool adjusts the white balance to make white objects appear white.
Saturation
Saturation helps measure how vivid or intense a color appears to an image.
Contrast
The contrast brings out the difference in brightness between any two colors. The objective is to make the primary color pop out and attract the viewer.
Hue
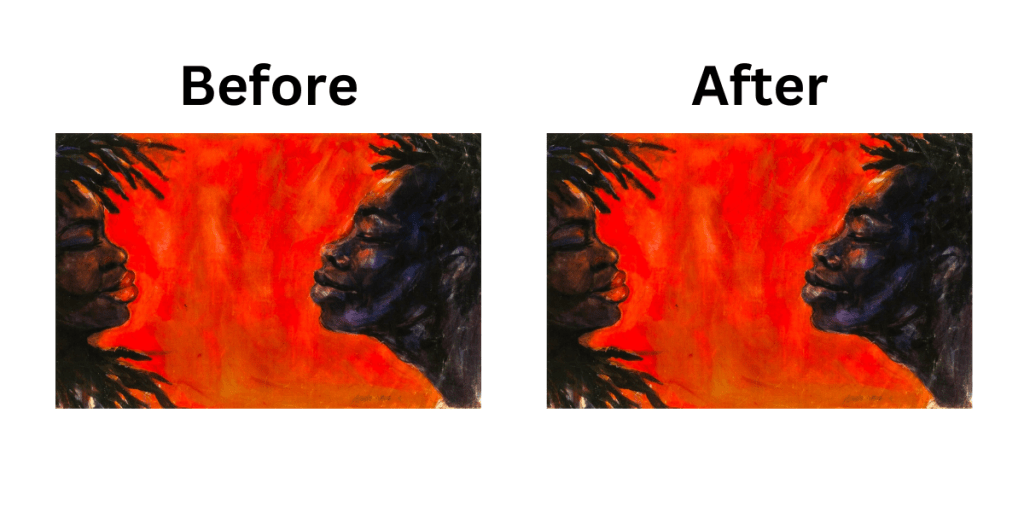
Hue helps distinguish the interpretation of the color.
I like to edit my pictures in this order and then review my work. The adjustments I often redo the most are for the saturation and hue.

Back up your work
Anything can happen, such as theft, fire, virus, etc. So, it is recommended that when you obtain a large body of work, you will need to create a backup-saving source.

There are:
A Flash drive (USB)
A flash drive is a small device that can store and transfer files and can easily connect to your computer. They are great to store away in a safe deposit box.
A cloud drive
Cloud stores your documents remotely and users can access their work anywhere in the world.
A zip file
Zip files are used for compressing large documents and exporting them into a folder. This next step is optional, but I take the folder and send it as an attachment of an email to myself. If something were to happen, I could download the email I sent to myself and unzip the files unharmed.
The process of becoming an amateur photographer shouldn’t be complicated. It may take time to find your style, but there is always YouTube or Google to help and guide you along the way.
So go practice today!

Leave a comment